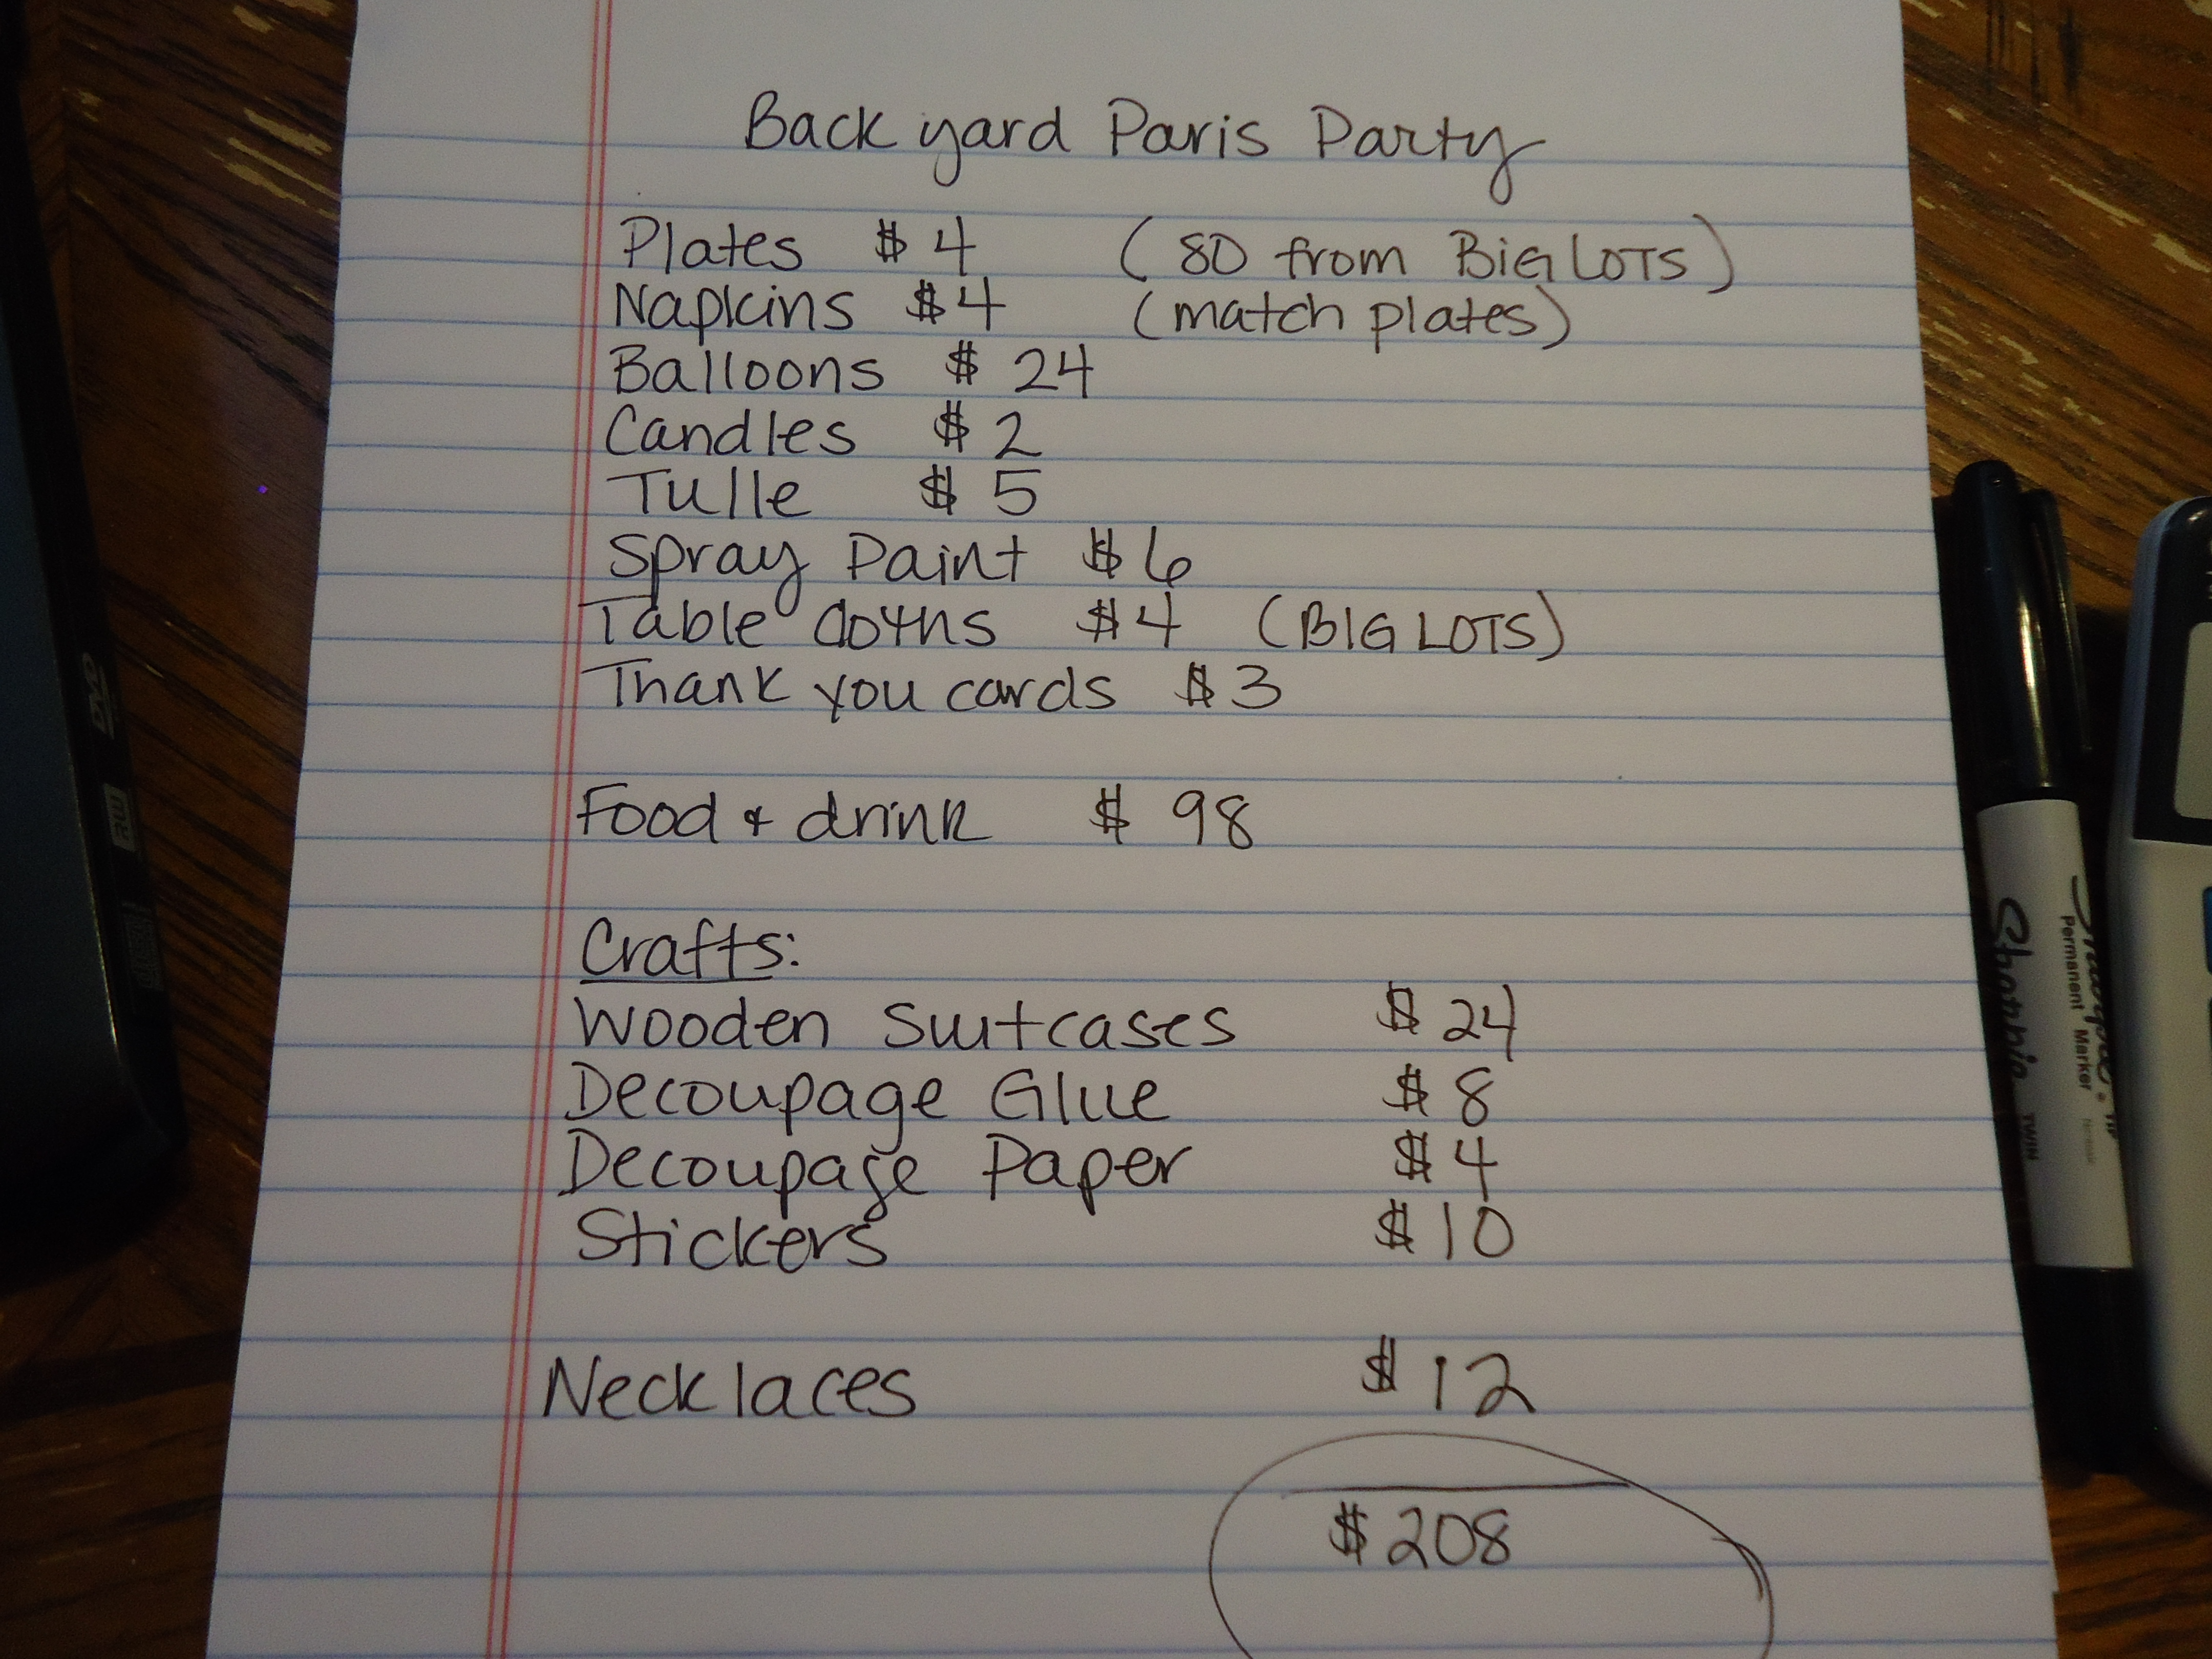
A few weeks ago I told you all about the Paris birthday party we threw in our back yard which centered largely on using the patio as a little cafe for the little girls in attendance. And while the party supplies only cost us about $200- I left out a few small details about work done on the patio to get ready for the party!
So, the patio, like anything else in this house is a work-in-progress. Which I think has to be the mantra for those who are really looking for budget-friendly-awesome-good deals. You must be willing to be patient. The first awesome find for the patio (6 years ago) was this glass and metal table with 6 chairs for $85 from Goodwill. (The only pic I could find is from about 4 years ago…)
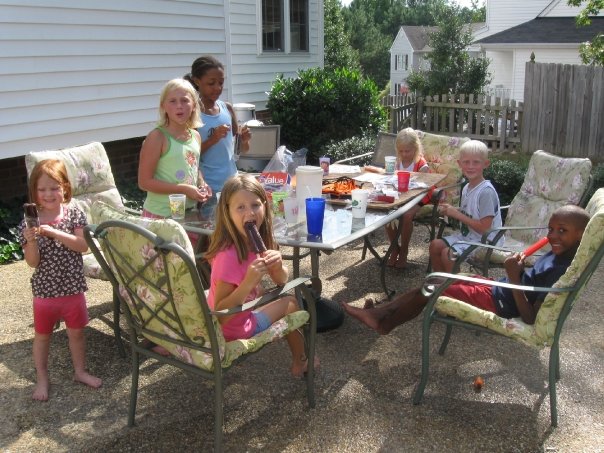
Patio Table circa 2009 in the original olive green color
So, to get ready for the party, it was time to spray paint the table. A project that had been on my to do list for too long. I loved it’s orignial olive color and could not find spray paint to match it. I thought of lots of difference color themes- something beachy- like peach, turquiose and yellow for the patio furniture (we also have an adironnack chair with a table and ottoman that needed to be painted too). And then, my husband commented one day that we could use one or two more comfy chairs on the patio. I started searching. When I have a goal like that I just pop into all of the stores I can think of to see what is out there- comparison shop for a few weeks. I looked at Garden Ridge, Wal-mart, Lowe’s, Home Depot, Goodwill (of course), a small Antique/consignment store near us, and Big Lots. Until one day I was high on Kohl’s cash….(a future post topic I have in mind is how the department store Kohl’s cash is like an addictive drug)….anyway. Where was I? Oh- I was speedily using my Kohl’s cash and ran into this set on clearance.
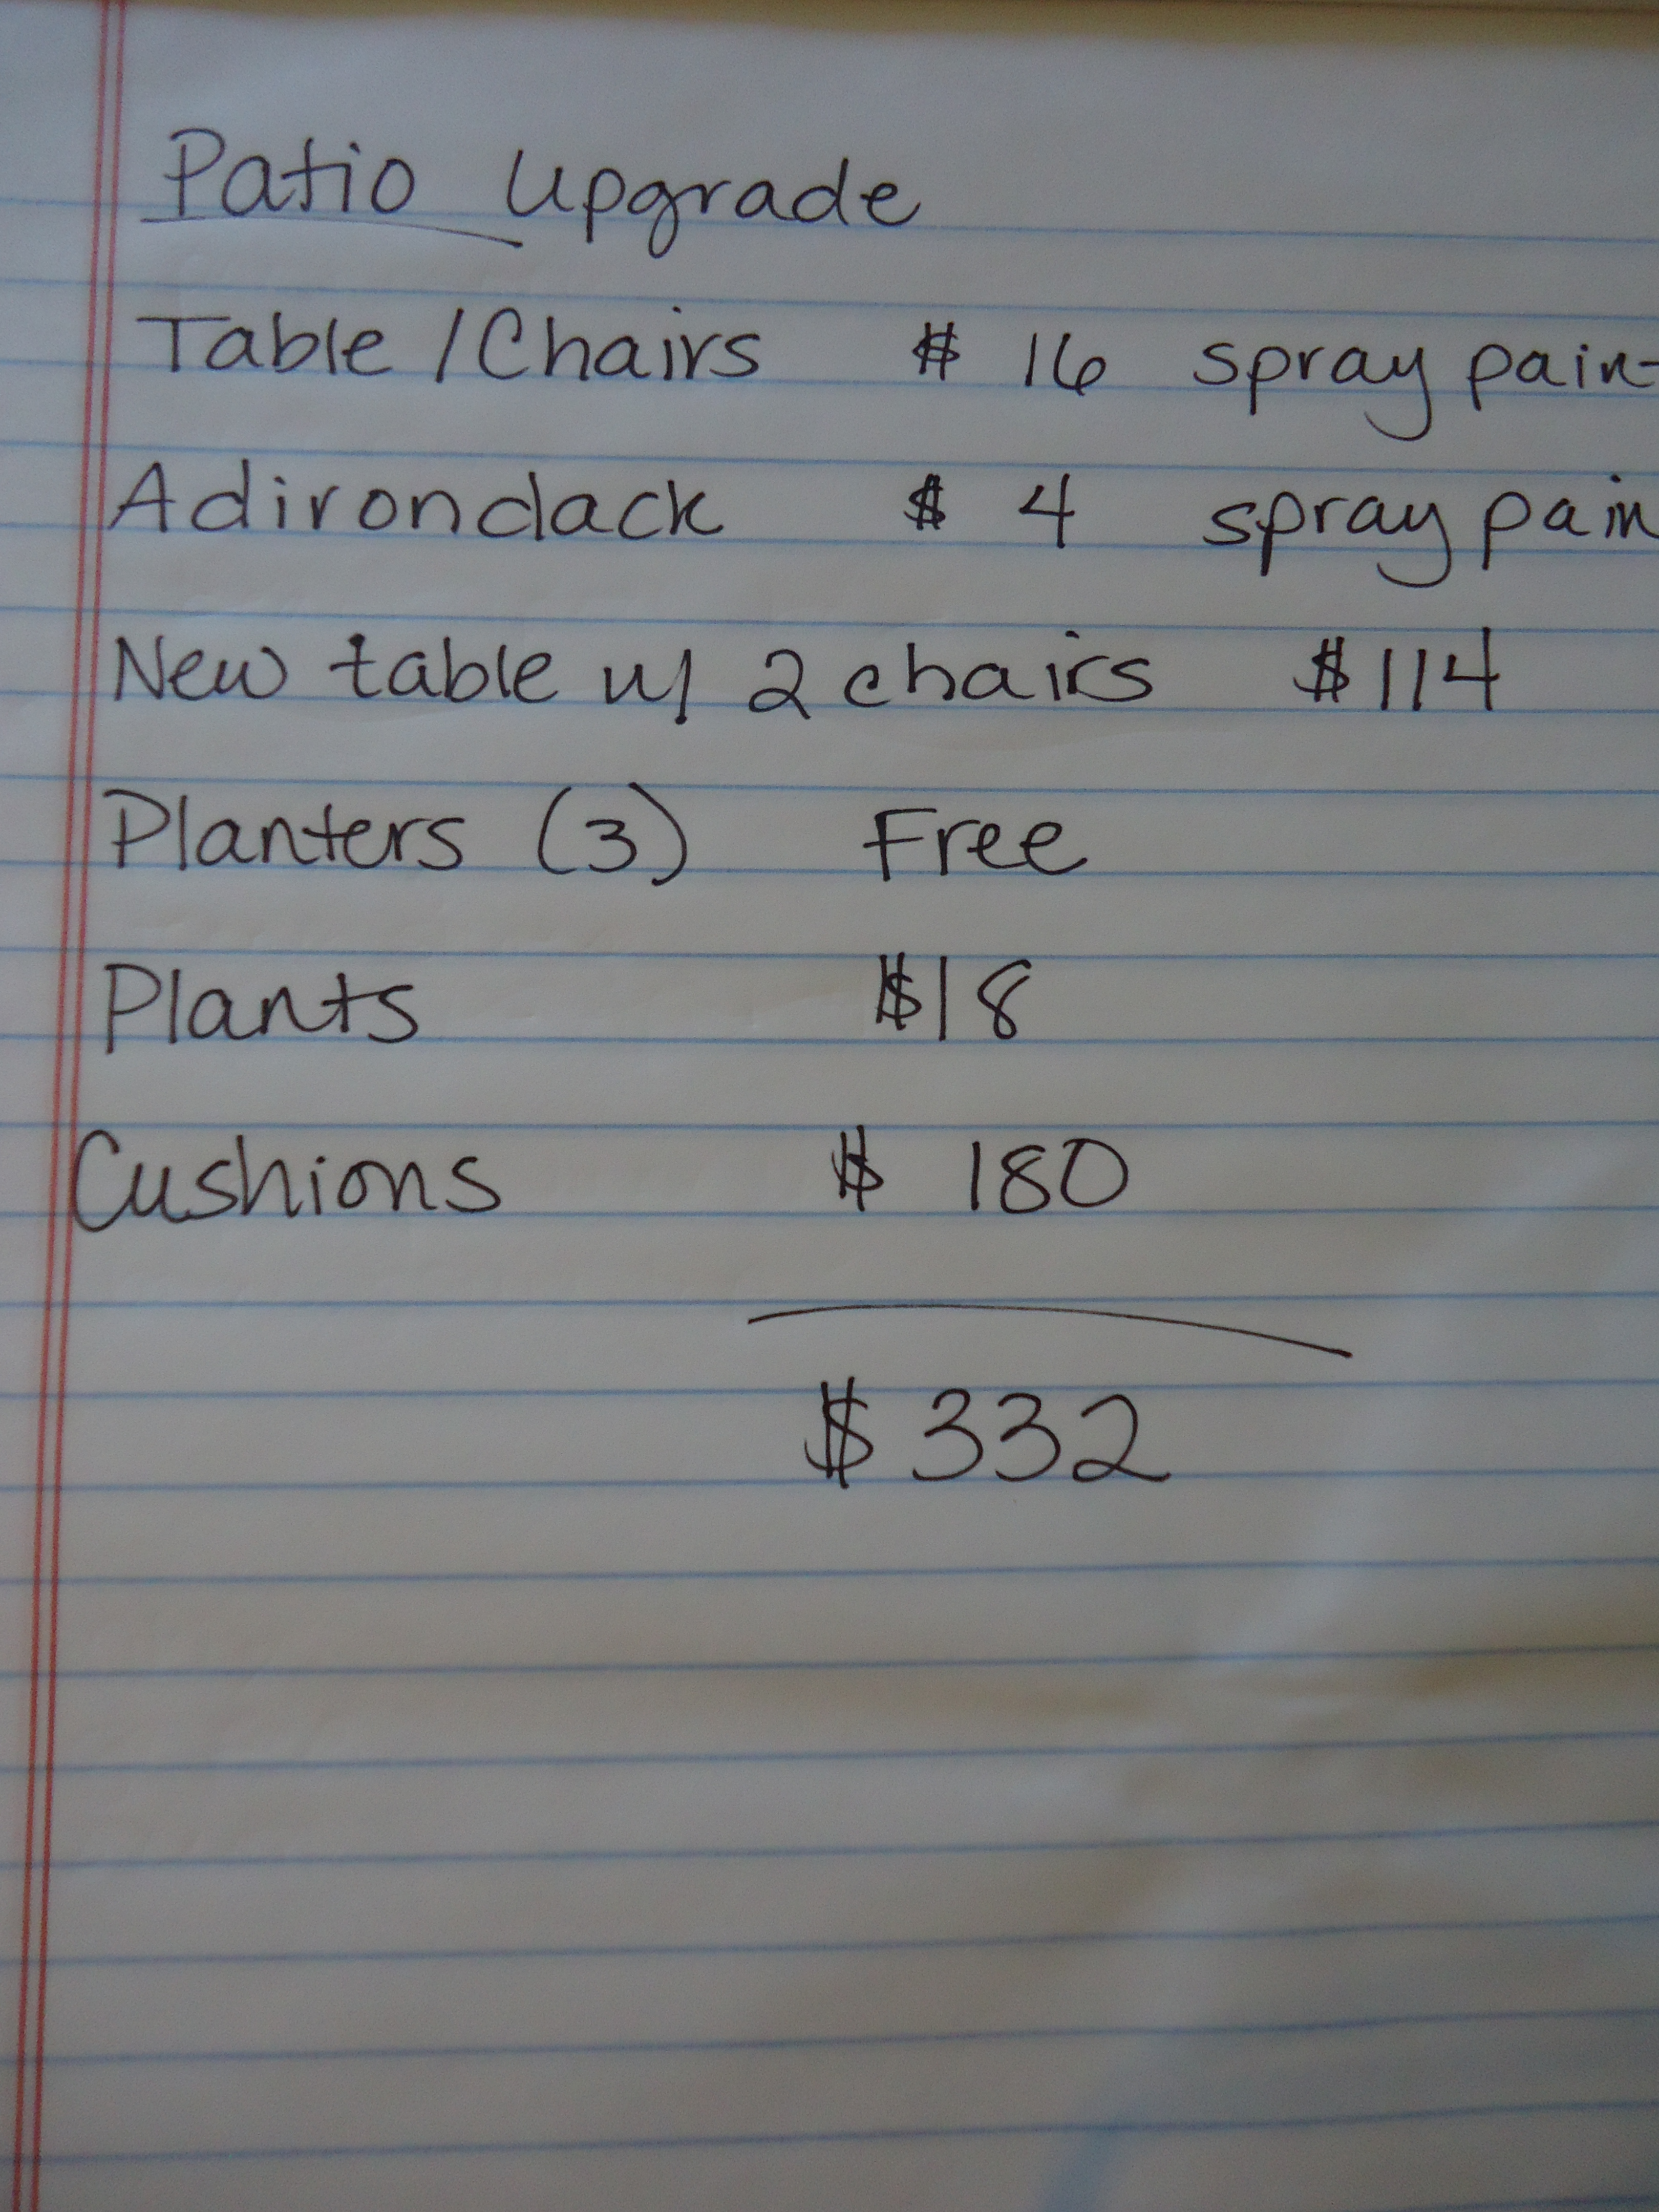
The price was $220. BUT…… I had a 30% off coupon which brought it down to $154. Plus I had $40 Kohl’s cash. So the total price for the two chairs, table and cushions was $114. And the brown hammered metal on the chairs gave me the inspiration for the paint on the table. And the colors for the new cushions.
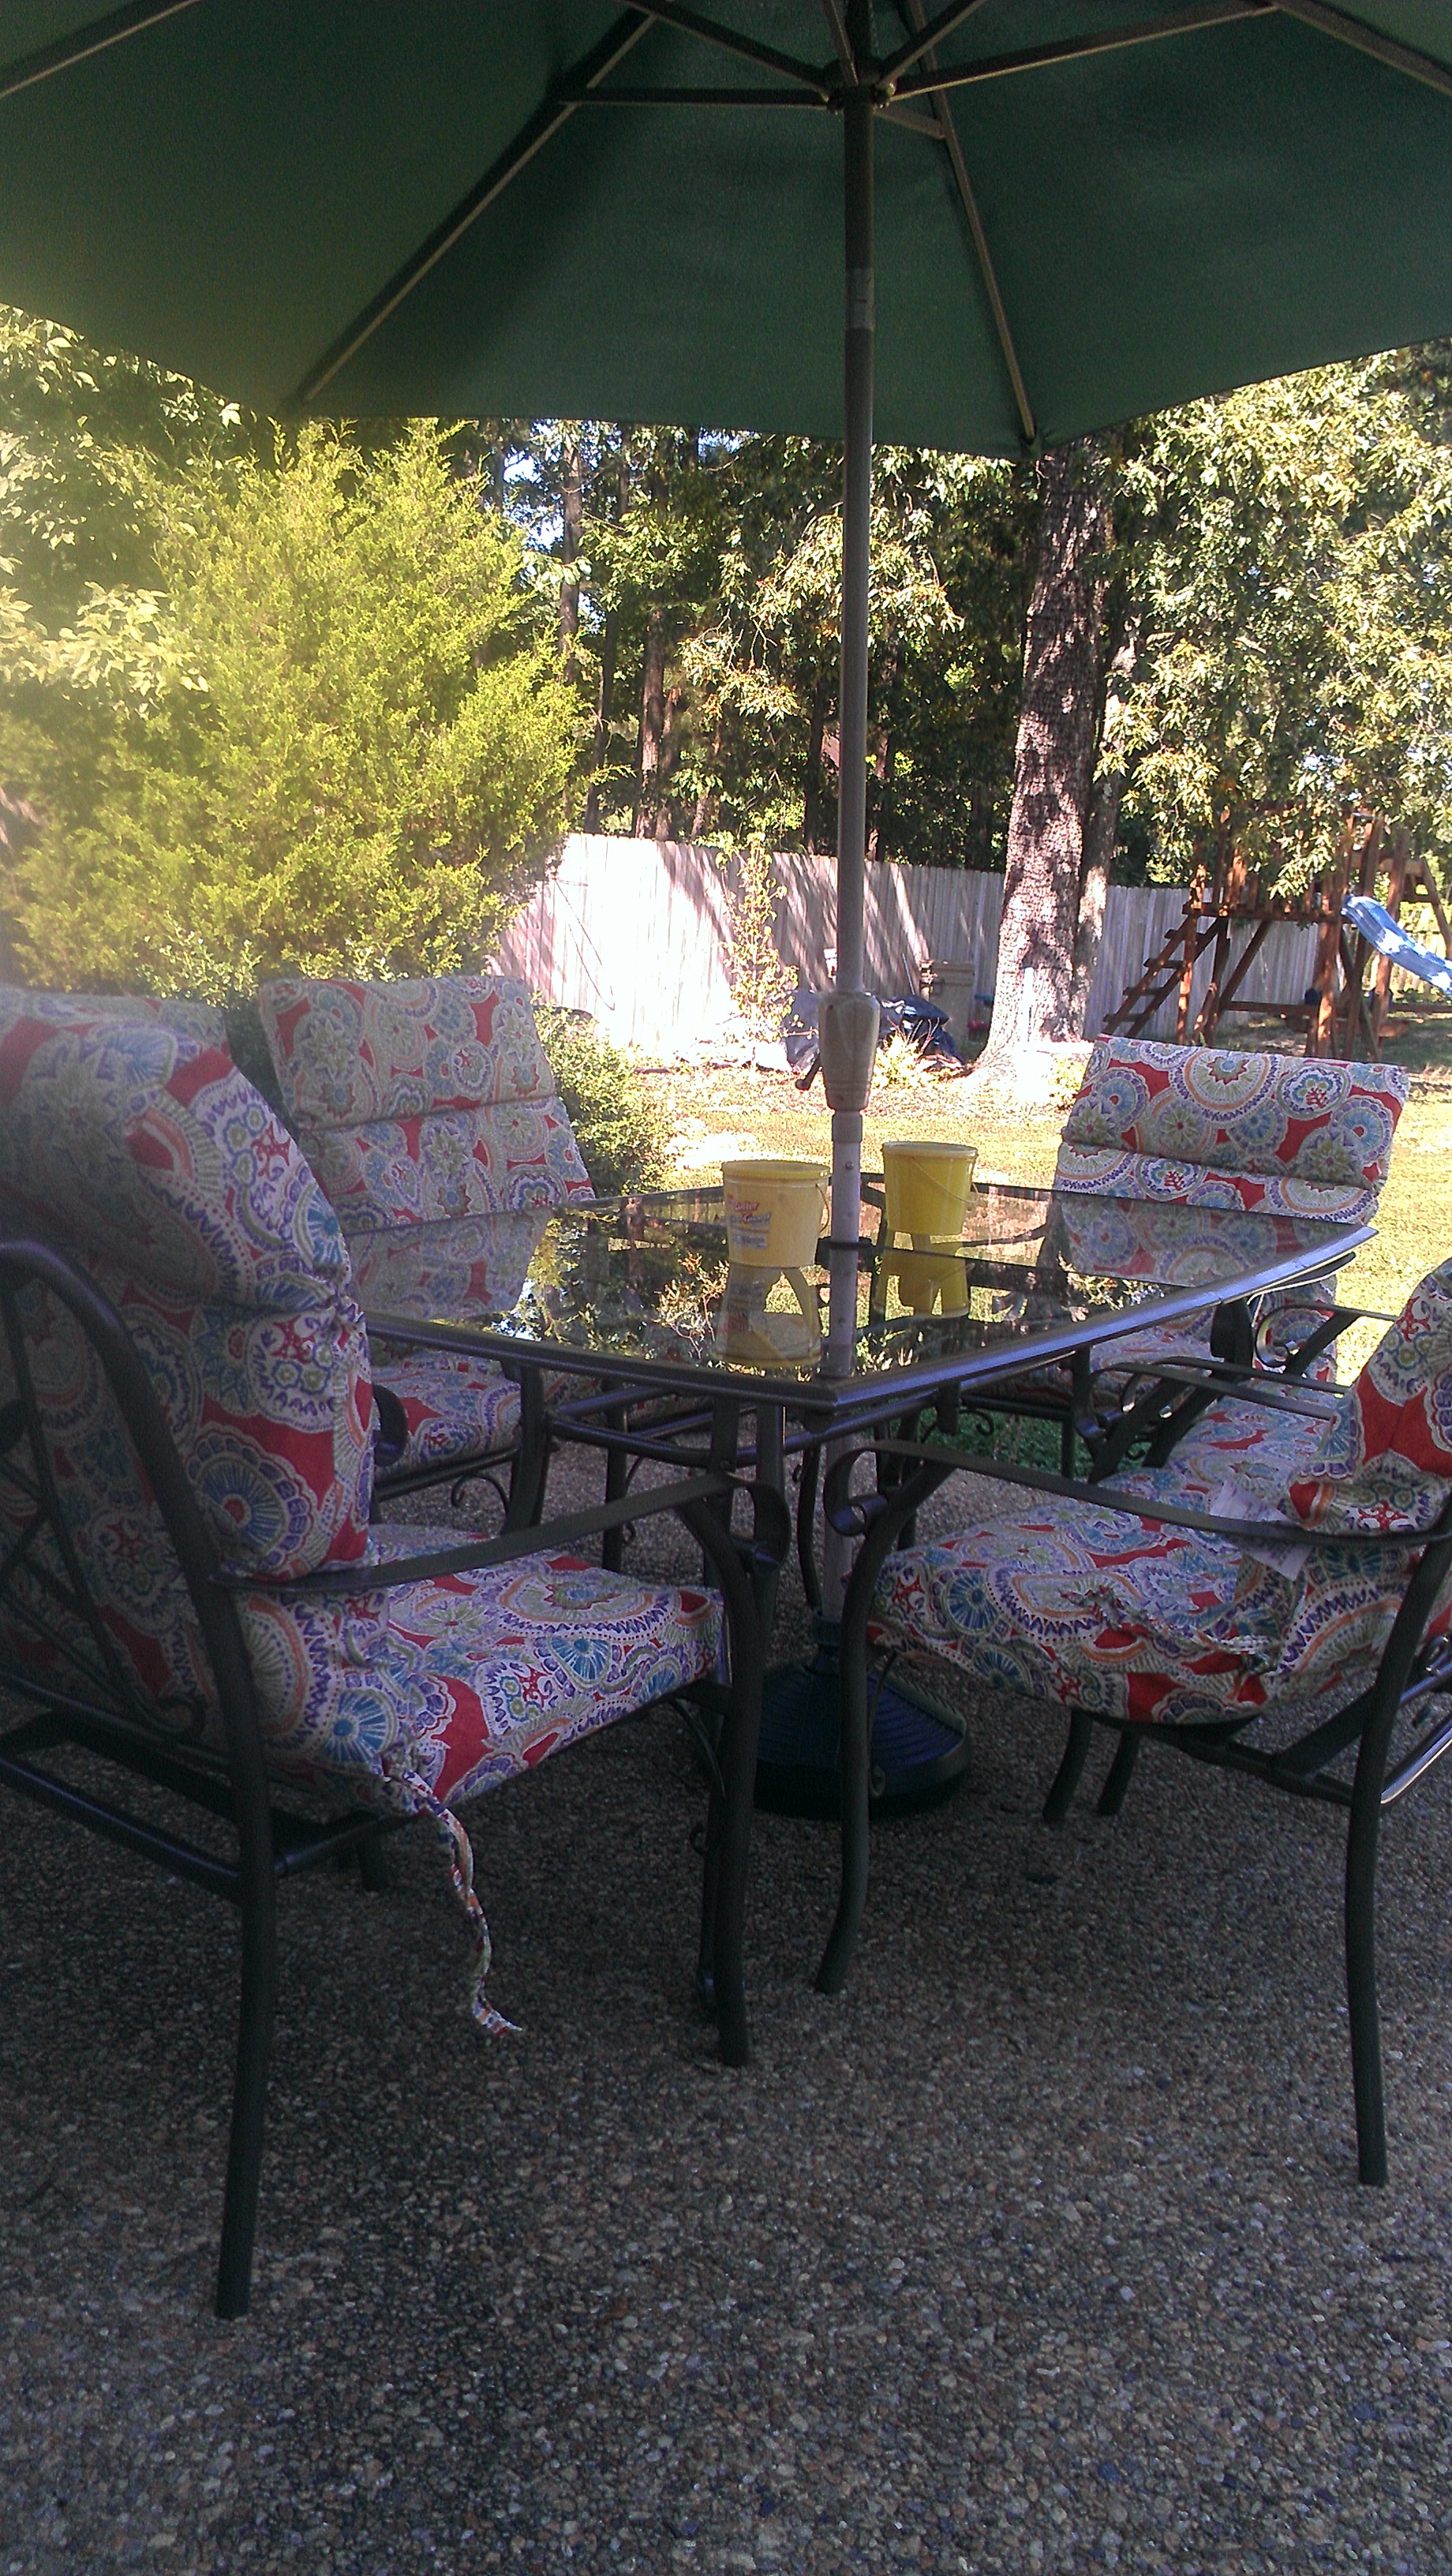
Ahhhh. The cushions. I love the cushions. But I couldn’t find a deal on them. So I kinda hate them too. Had it not been for the fact that the party was the next day and the existing cushions were dry rotting at an appalling speed, I probably would have waited until the end of the season to buy these.
I also scored 3 new flower pots….at someone’s trash can. Don’t be too proud to ask for people’s trash. I have done it a few times, and never regretted it. One man’s trash… well, you know.
Because it was late June, all of the flowers were 50% off so I could fill the planters for about $18. I ended up painting the adirondack chair a bright blue to match the new cushions.


A neat trick to store cushions near the patio table is to stack them on a wagon. When we want to use the table, the cusions are right there to throw on the chairs. When we are not using them I cover them with a grill cover. In the off-season I plan to wheel them into the garage for storage.


")
")
")


")
")


